
DIY At-Home Facial with Natural Ingredients for Glowing Skin
On daily basis, our skin gets exposed to dirt, grime, pollution, and other impurities. Also, due to several factors, you get to deal with stress which shows up on your face.
Well, all such factors turn the skin dull and lifeless. This leads to many skin problems like dull skin, fine lines, wrinkles, premature aging, pigmentation, dark spots, acne, and many more.
Who wants to have a lifeless, dull, pigmented skin? Obviously, none of us. So, taking the utmost care of your skin internally and externally is essential to maintain flawless glowing skin.
How to take care of the skin while living a stressful life? Is this your question? Well, on weekdays follow a Basic Skincare Routine suitable for your skin type. But on weekends spend some time for a simple At-home facial if you really want that Korean glass skin.
In this article, you’ll find a simple step-by-step procedure to do an At-home facial with natural ingredients to get spotless and glowing skin. Keep reading!
DIY At-Home Facial for Glowing Skin
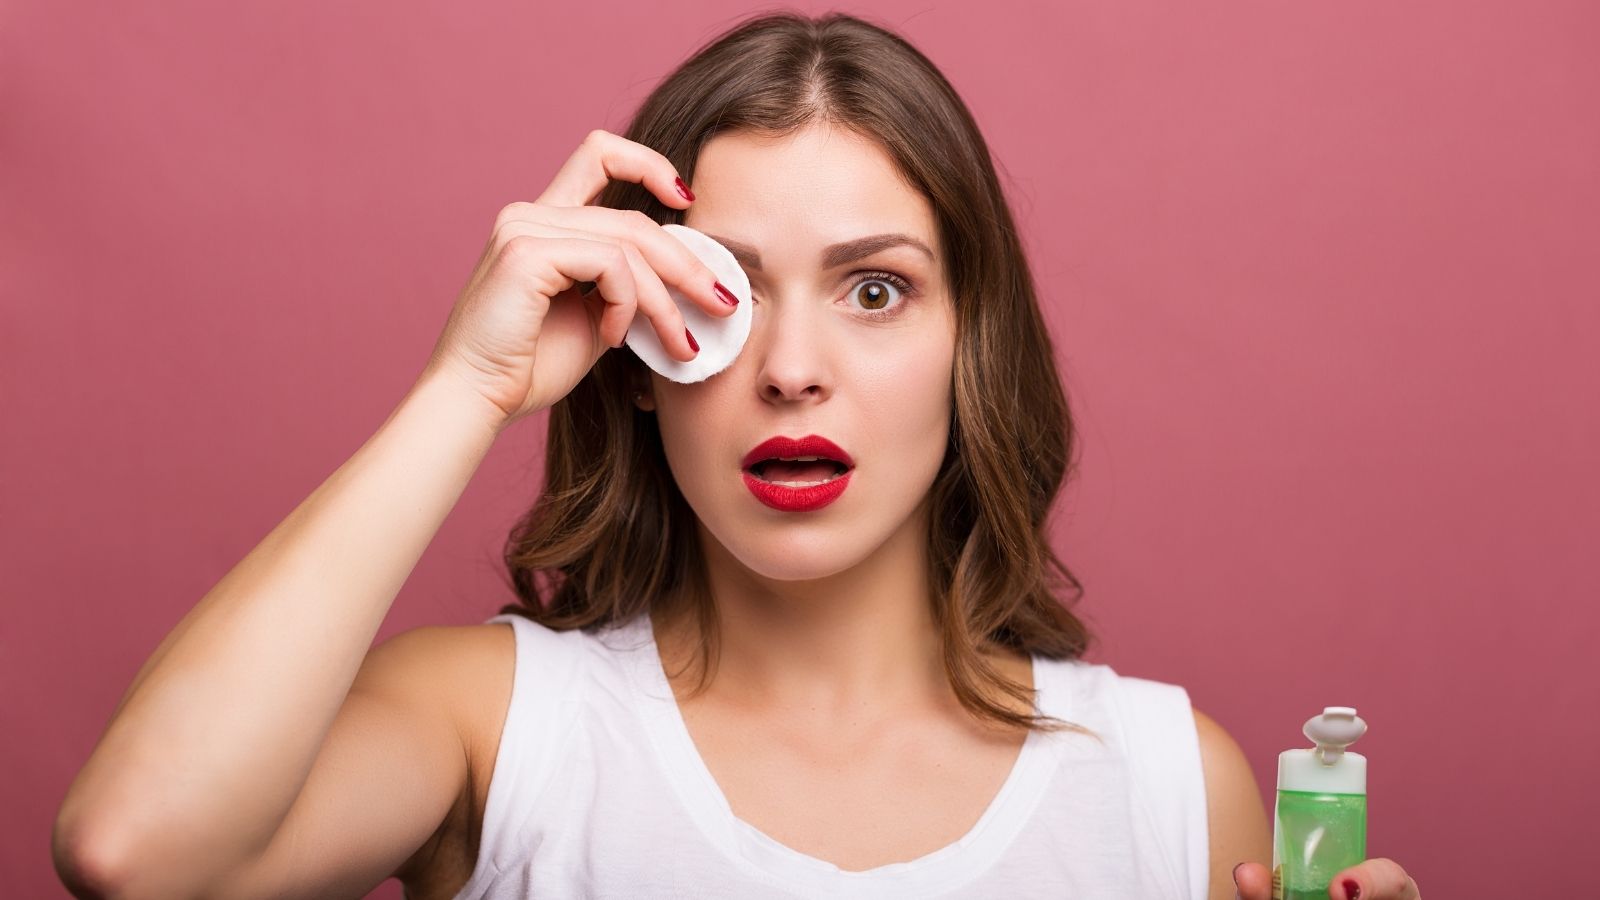
1. Cleansing

Cleansing is the beginning step to facial and helps you get rid of dirt, excess oil, impurities, or dead skin which block your pores. It refreshes and preps your skin to absorb all the nourishment in the following steps.
Moreover, cleansing face with Milk can help you have smooth and wrinkle-free skin. That’s because Milk contains lactic acid, which is an AHA (Alpha hydroxy acid) and is popularly used as an anti-aging ingredient. Applying milk on the face will reduce the freckles, brown spots, and hyperpigmentation.
How to Cleanse
- In a bowl take a few tablespoons of Milk
- Dip a cotton swab into the milk solution
- Dab the cotton swab all over your face and neck for a few minutes
- Later, just wipe off with lukewarm water
- You’ll observe instant lightening of skin and hydration
No products found.
No products found.
2. Steam

Steam opens up your pores and deep cleanses your skin by loosening any blackheads and buildup of dirt. Eventually, making them easier to remove. As it releases acne-causing bacteria, trapped sebum, and dirt from the pores, this results in a healthy glow.
Additionally, the increased blood flow during a steam facial promotes elastin and collagen production. Thereby it can make your skin younger-looking and spotless.
No products found.
How to Steam
- Use a facial steamer that is easily available in online stores or any cosmetic stores
- Now, wear a towel over your head, slightly bend, and let your face soak in the steam
- Keep your eyes closed
- Do this steam facial for 10 minutes
- For extra benefits, you can add any of your favorite essential oils or herbs to the water
3. Exfoliation
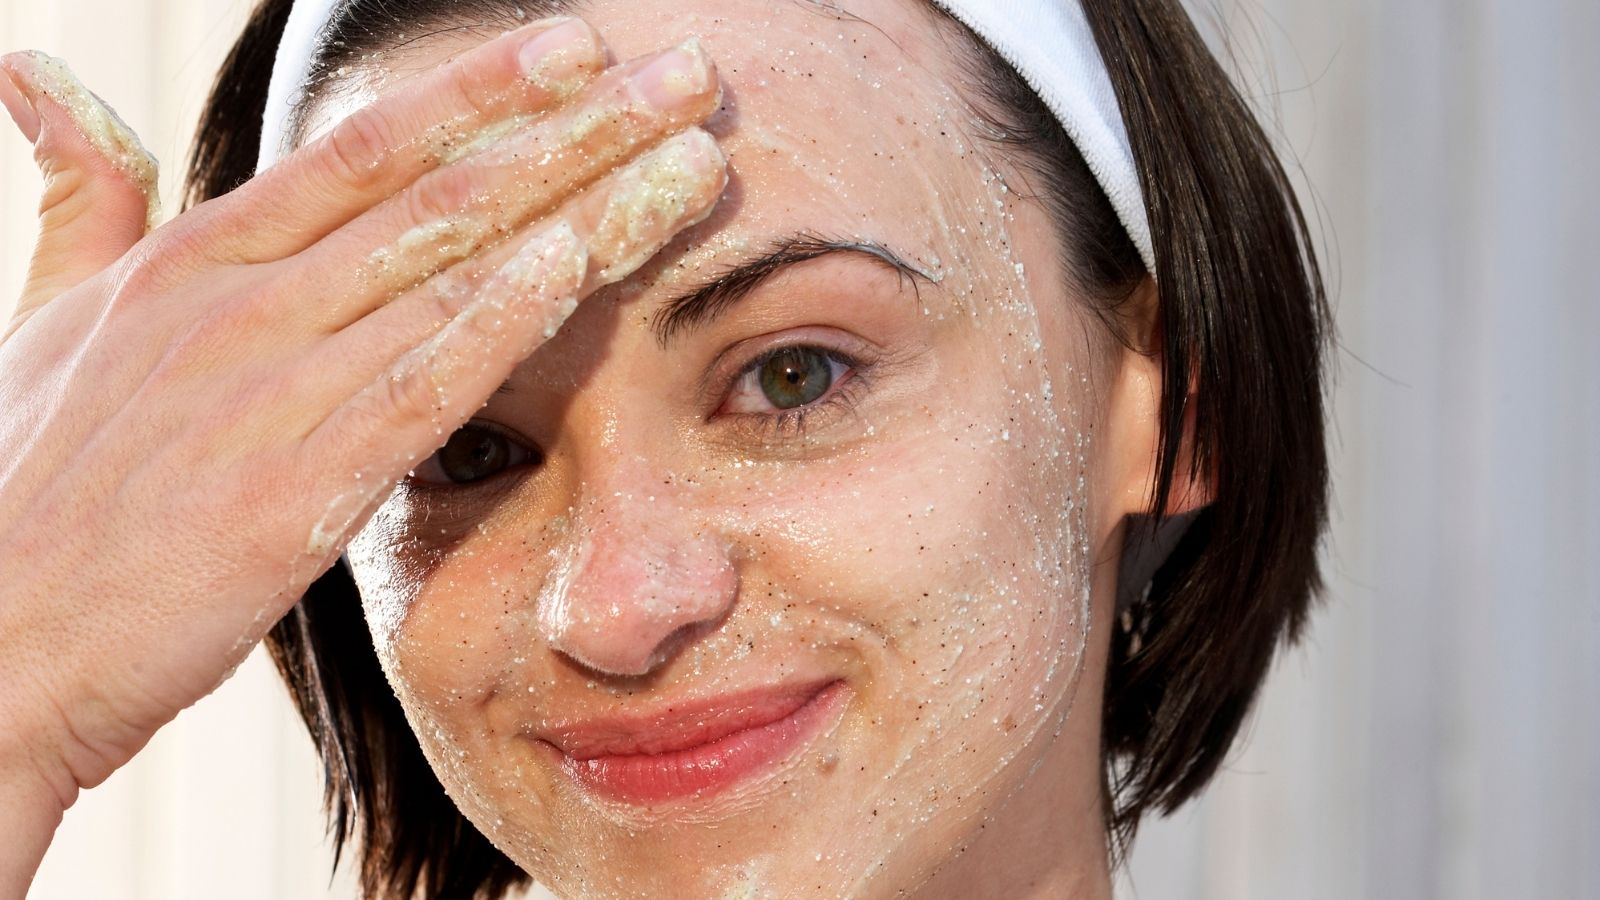
Physical Scrubbing removes all the accumulated dead skin cells thoroughly from your skin. It leaves the surface of your skin fresh and healthy. Besides exfoliation reduces the acne symptoms and hormonal breakouts.
How to Exfoliate
- You’ll need a tablespoon Rice flour, 1/4th tsp Turmeric powder, 1/2 tsp Rose petal powder, and 1 tablespoon of Coconut oil
- Mix all the ingredients until well combined
- Apply the mix all over your face and neck
- Start scrubbing your face gently with light strokes for 5 minutes and wash off
4. Face Mask
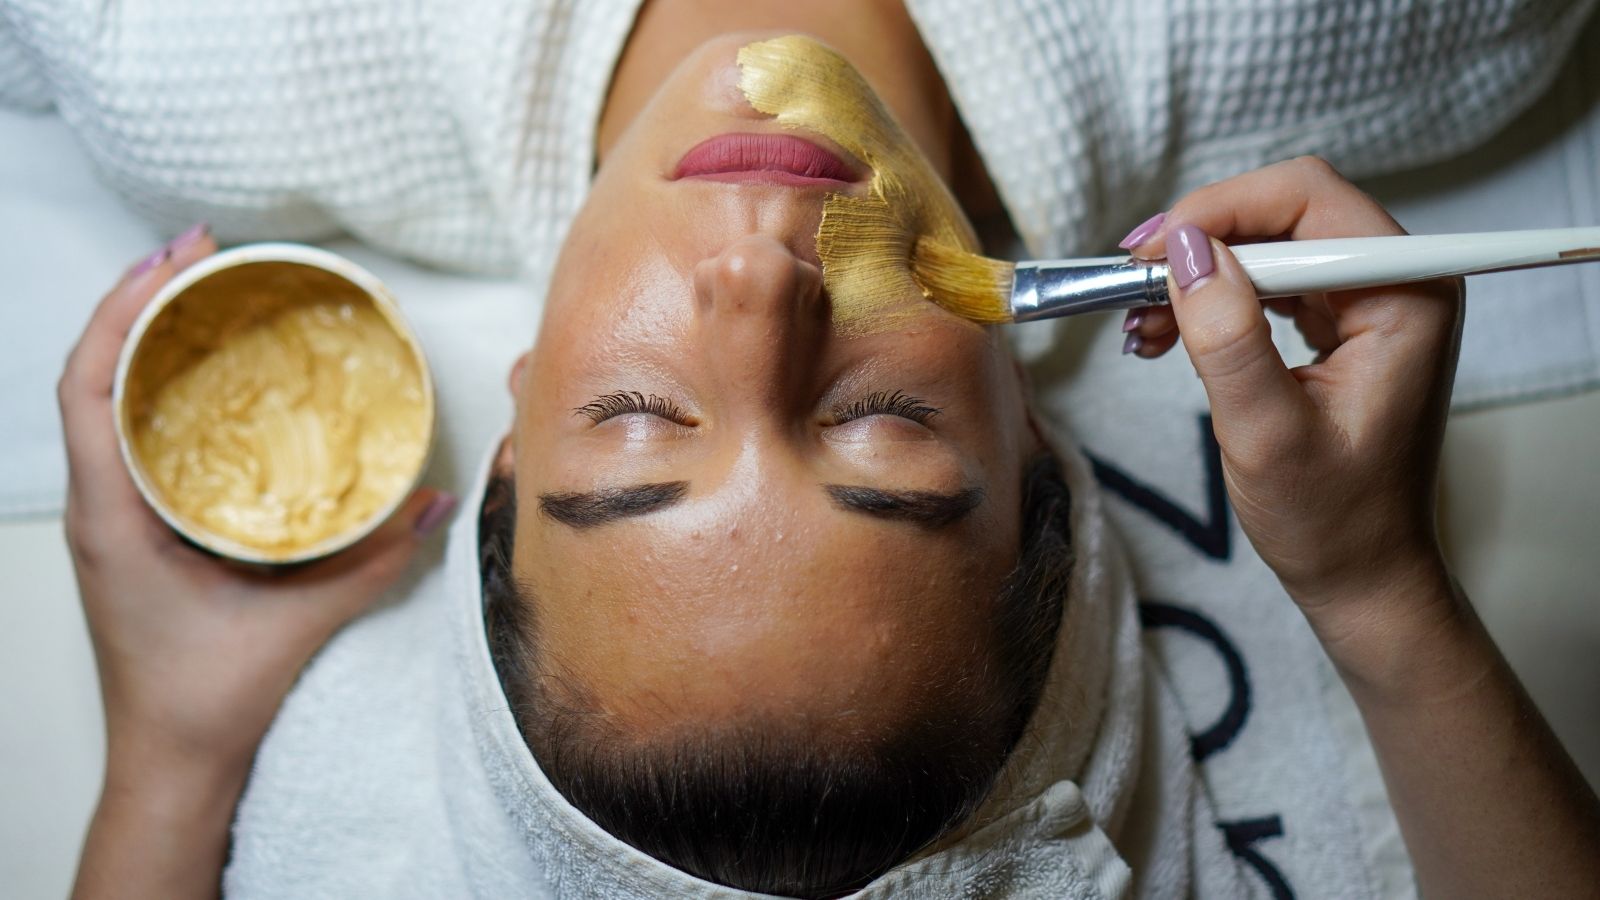
After the exfoliation step, your skin is all set to soak in the goodness of the face mask. Applying a face mask made with natural ingredients helps your skin regain lost moisture, glow, and hydration.
How to apply a Face mask
- For preparing a DIY face mask, you’ll need a tablespoon of Gram flour, 1 tbsp Sandalwood powder, 1 Vitamin e capsule, and 1 tablespoon Milk
- Apply the face mask to your face and neck area
- Leave it on for 30 minutes, later rinse off with warm water
5. Tone
After your skin is soaked with all the goodness of the face mask, you can now apply a toner to seal the pores of your skin. That’s because to not allow the dead skin or dirt to accumulate in the pores.
How to use a Toner
- You can use your fingertips or a cotton pad to spread the toner evenly on your skin
- Use a Rosewater toner
- Dab some toner onto the cotton pad and swipe it all over your face
- Let the toner dry naturally
Up to the very end!
Voila! It’s that simple. These At-Home Facial steps will certainly give you the desired skin in no time. Follow these steps every week and observe the change in your skin in a few weeks. You’ll see a major difference. Then please share your experience with us by leaving a comment below.
Up Next: Japanese Women revealed their Skin secrets for Glass Skin
Last update on 2026-06-25 / Affiliate links / Images from Amazon Product Advertising API